Exalate
Connect Zendesk to Jira, ServiceNow, GitHub, Salesforce, Azure DevOps & more
Installationen
200+
Kompatibel mit
Support
Entwickler:in
exalate
About this app
As a support engineer in Zendesk, when you have an L3/L4 support case you need to escalate the ticket to the engineering team in Jira, Azure DevOps, GitHub, etc.
What does this process look like for you now?
Do you need to use email or Slack to send over the ticket manually and then chase the developers to get a fix?
How many of those tickets do you currently have in your support queue?
Using disparate ITSM tools means information silos, manual errors, misplaced or inaccurate data & missed deadlines. Your organization's growth will severely impact customer satisfaction, retention & revenue.
Integrating your Zendesk with other systems is the most optimal way to ensure that support has full visibility of the ticket status & can focus on what matters the most: customers.
You can use Exalate to sync Zendesk tickets & Jira, ServiceNow, GitHub, Azure DevOps, Salesforce, etc bidirectionally & in real time.
What Sets Exalate Apart?
AI-powered flexibility & customizability provided by a scripting engine.
Granular control over incoming & outgoing sync, on each side.
- Security & reliability by design.
Real-time sync.
- Cloud or On-premise deployment: You can opt to use the Exalate Cloud infrastructure, or you can host the Exalate app on your premise to have full control over your information security.
Popular Use Cases:
- Sync status, custom fields, priorities, assignee and reporter, time logs, due dates; only private comments, only public comments, or both.
- Connect any number of platforms to Zendesk, or just sync multiple Zendesk instances.
See Exalate in action:

Book a free session with an integration engineer to go over your use case.
Still have questions? Reach us at info@exalate.com.
Details zur App
Installationsanweisungen
Exalate is a decentralized solution, meaning that it should be installed on both sides of the connection. Get Exalate for Zendesk via this listing (please find installation tutorial here). To install Exalate on other supported platforms, visit Exalate integrations.
You can use Exalate as a cloud application or deploy it on your premise.
This guide is for the cloud application. To deploy it on your premise, follow this guide.
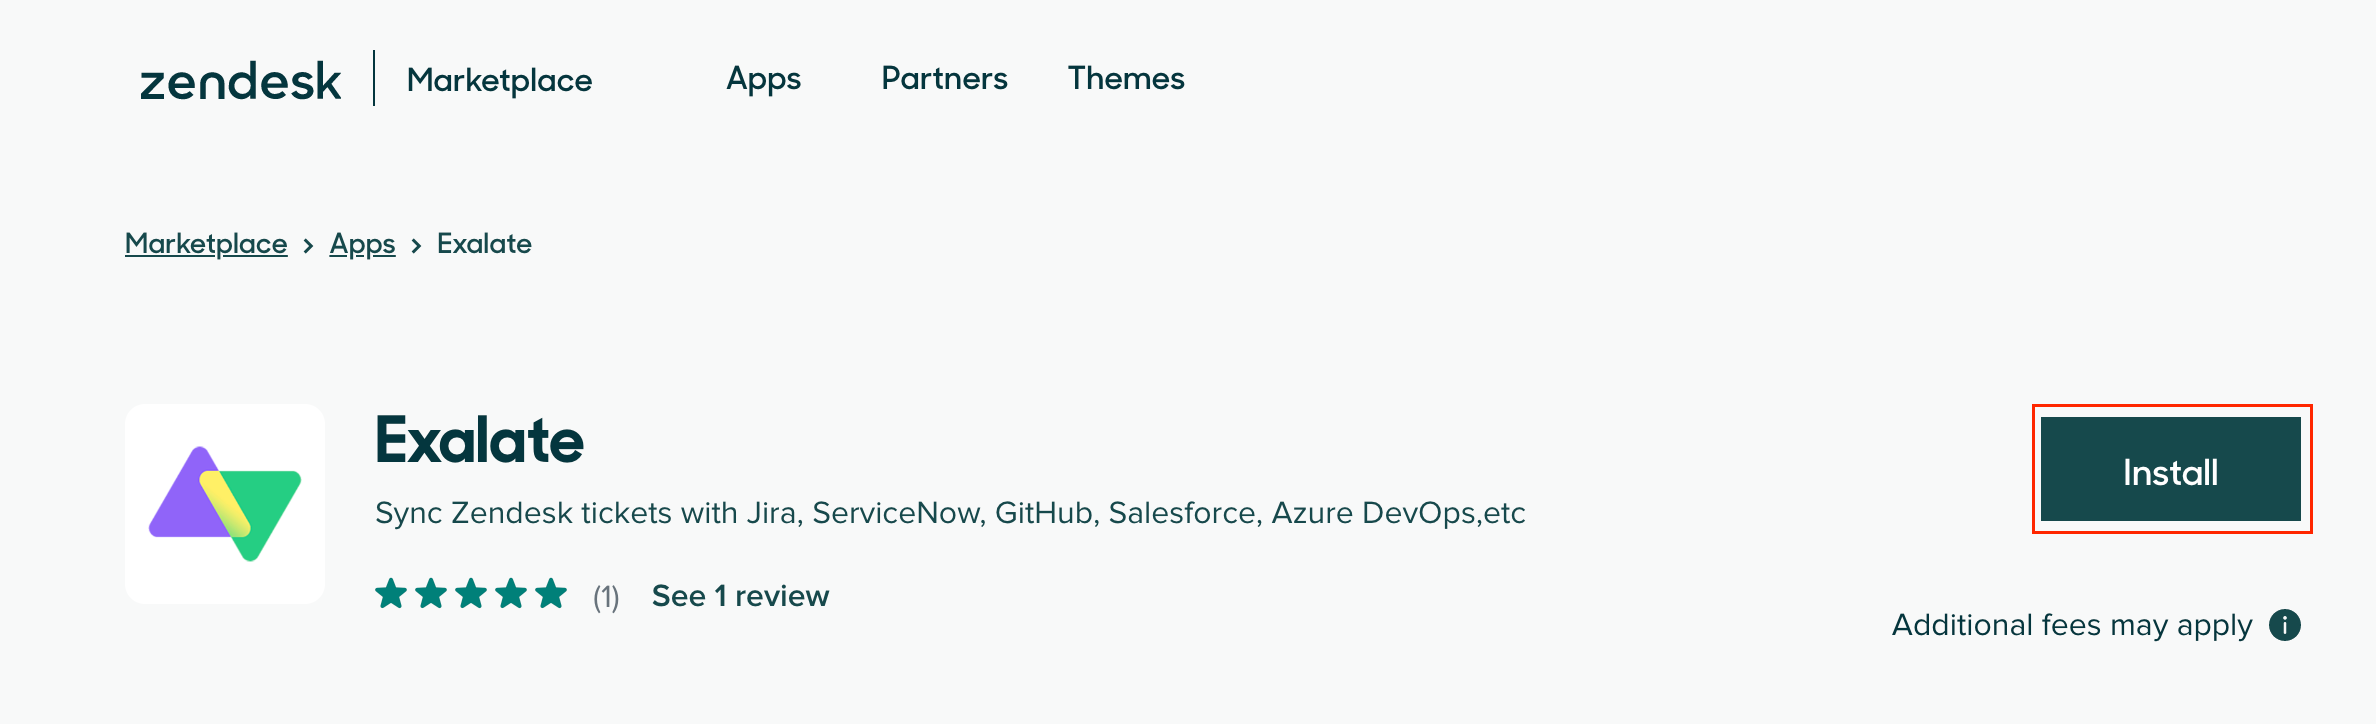
Click Install.
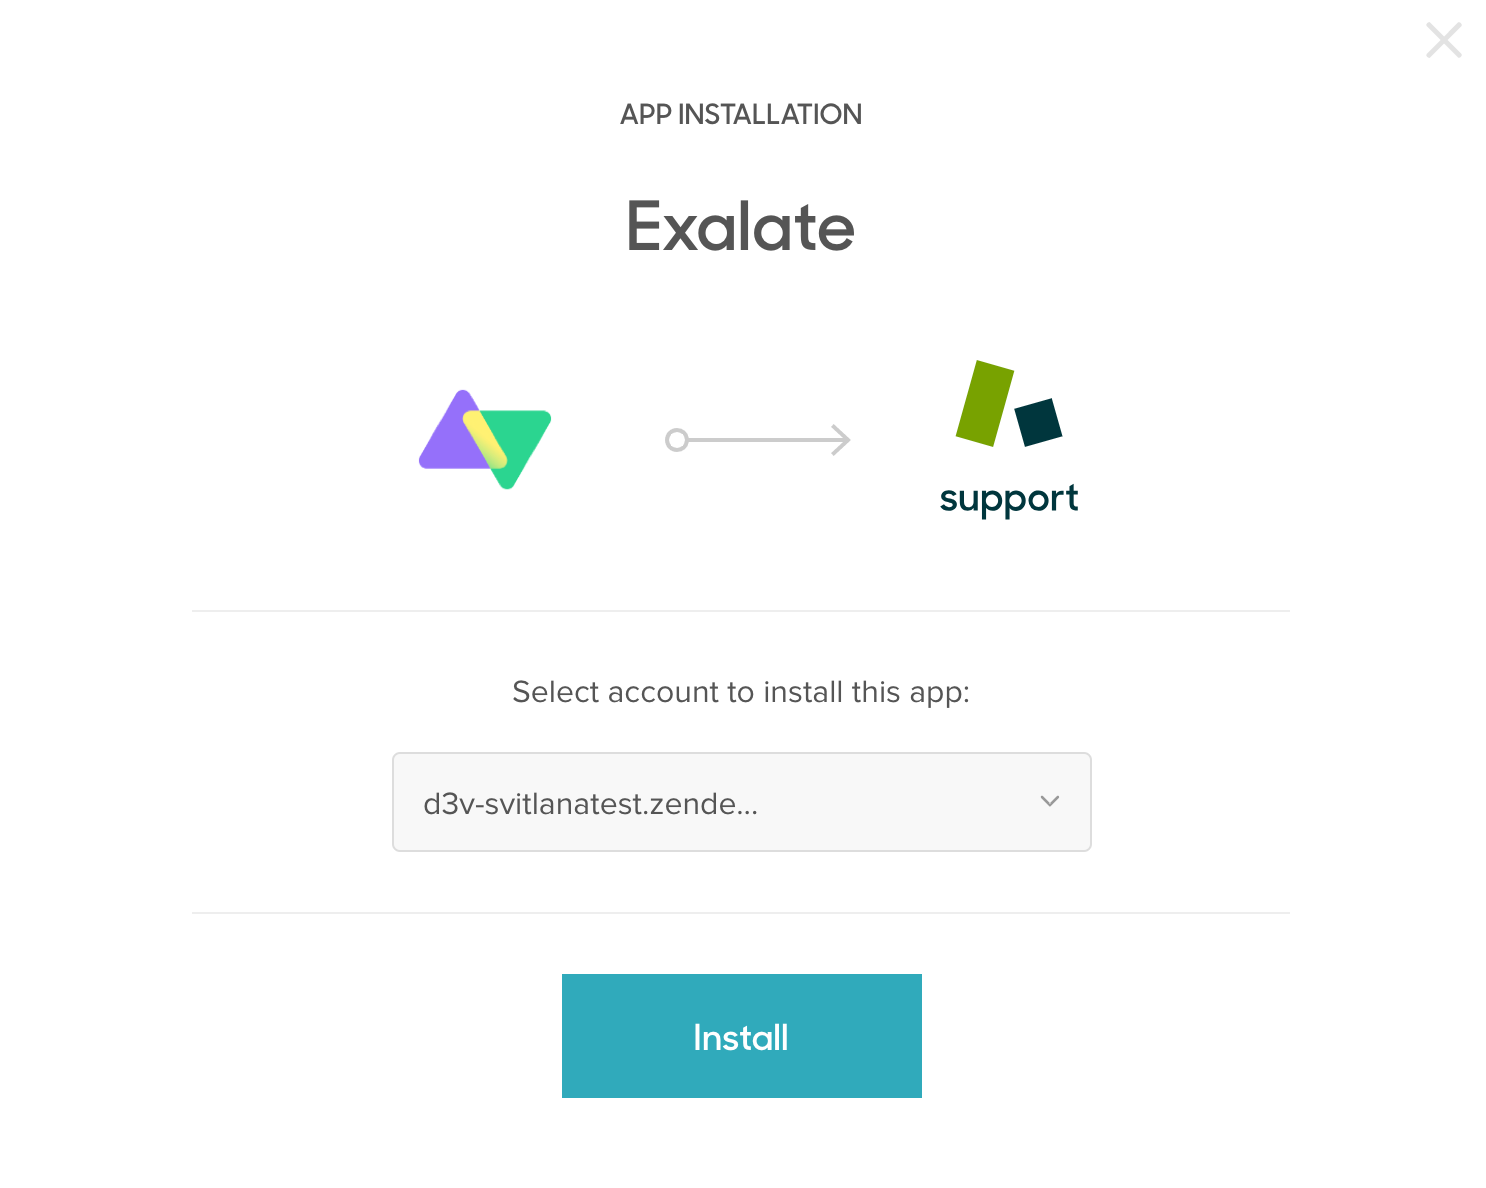
If you have multiple Zendesk accounts, select the one you want to install Exalate on and click Install.
Before installation, you need to configure the app.
You can update the name of the app and give access to certain roles and groups.
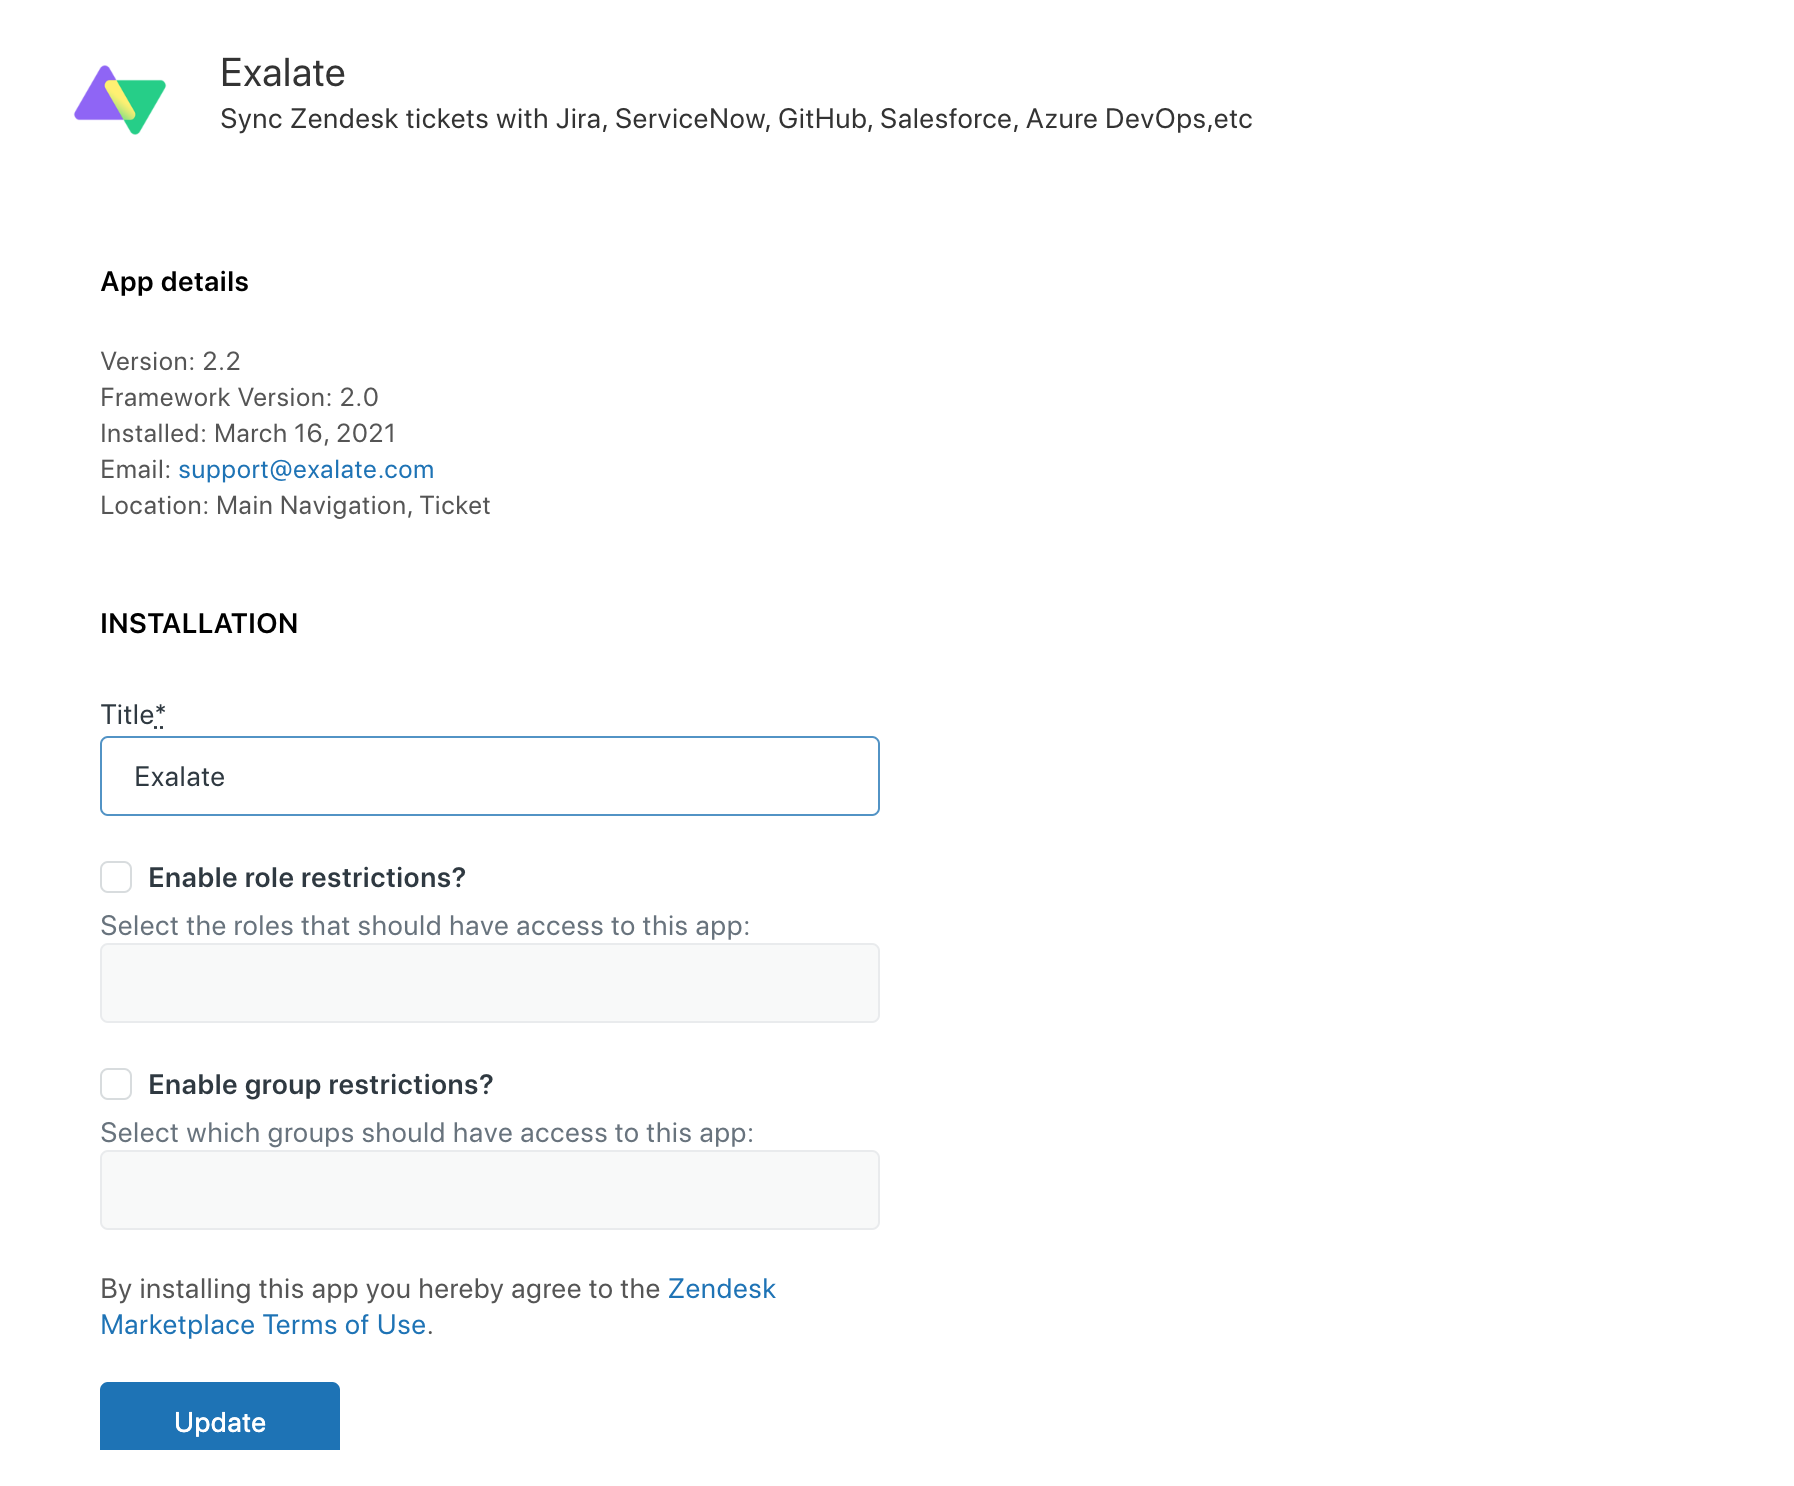
Click Update.
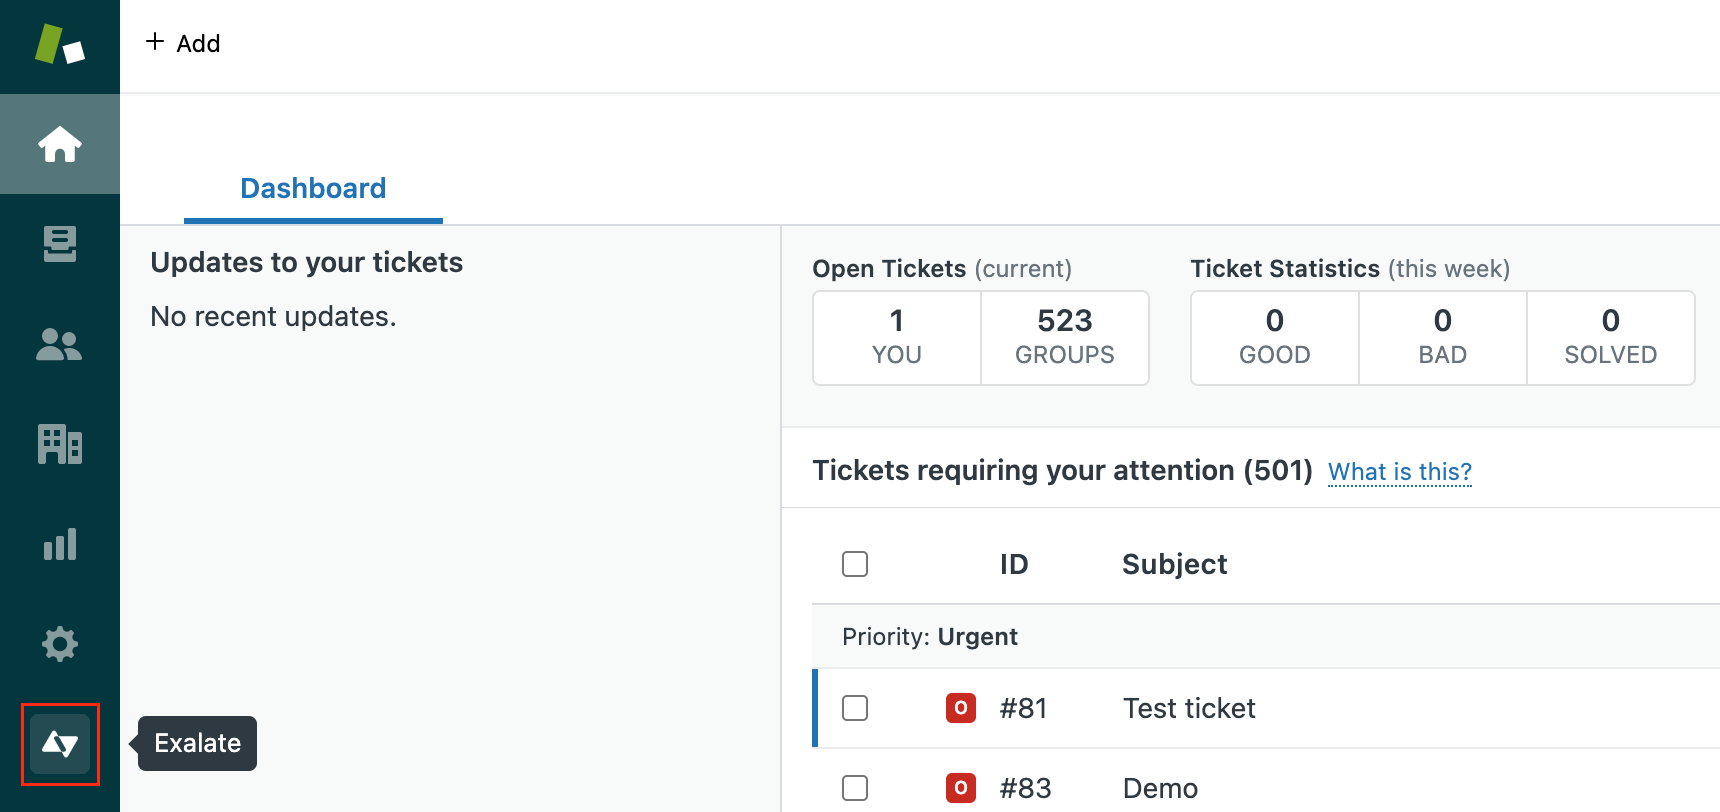
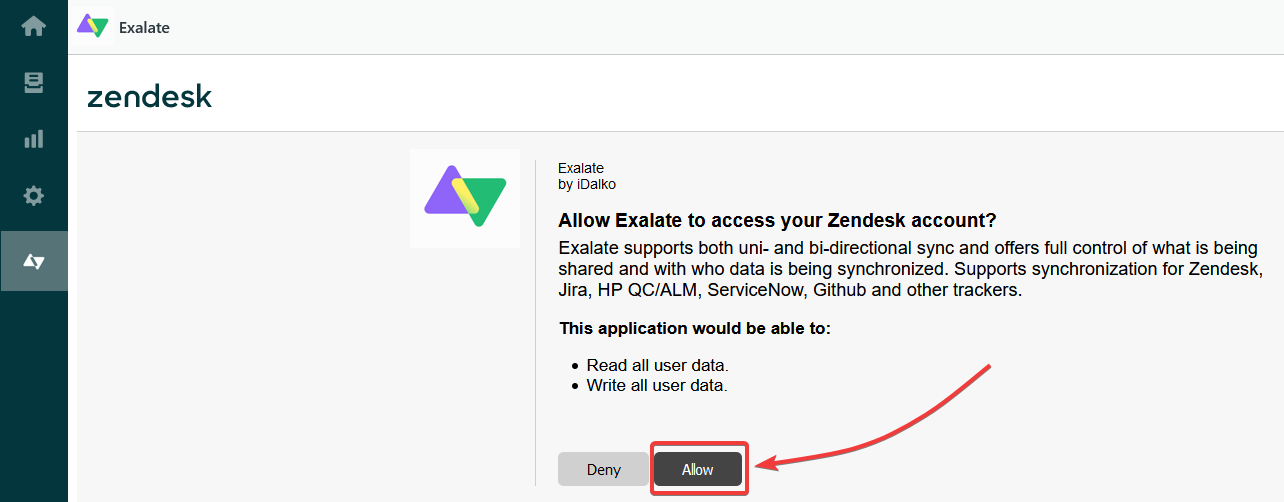
Select Exalate from the left side panel.
Click Allow to give Exalate access to read and write data.
On the Registration screen, put in your info.
Exalate uses this info to:
a) Verify your instance.
b) Activate an evaluation license.
c) Create an admin account to receive error notifications.
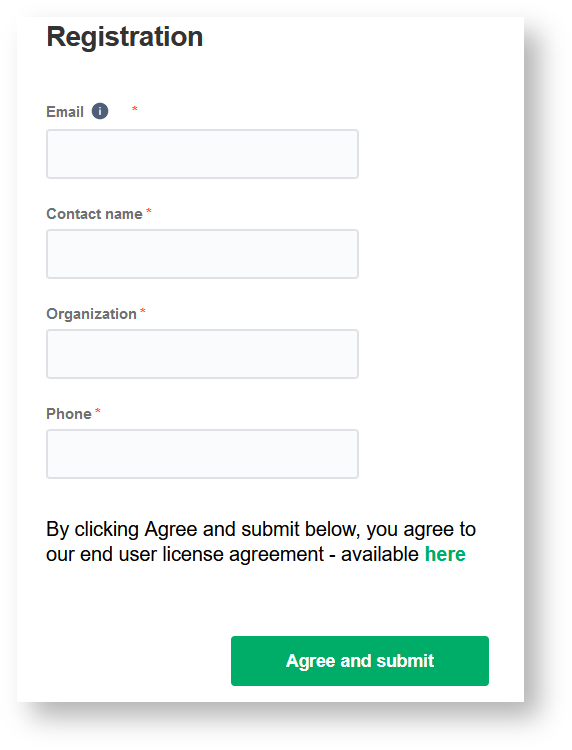
Select Agree and submit.
You will then get an email to complete our security check.
After clicking "Agree and Submit", you should accept our End User License Agreement (EULA). You can access it via the Exalate Trust Center.
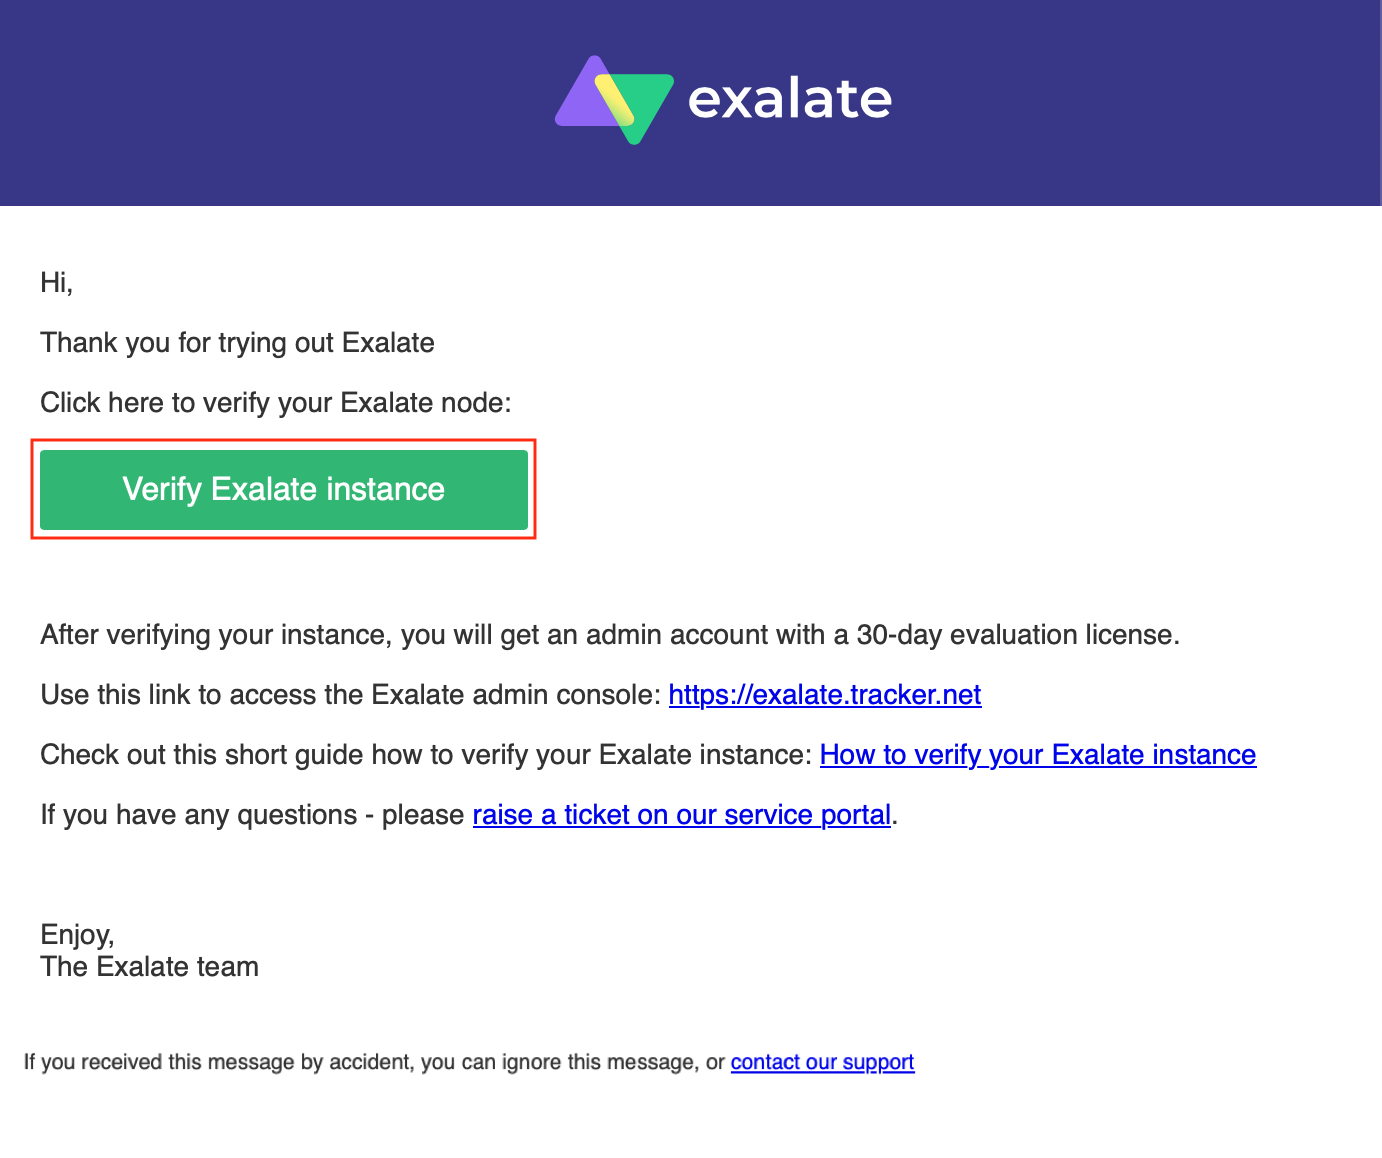
Open your email and select Verify Exalate instance.
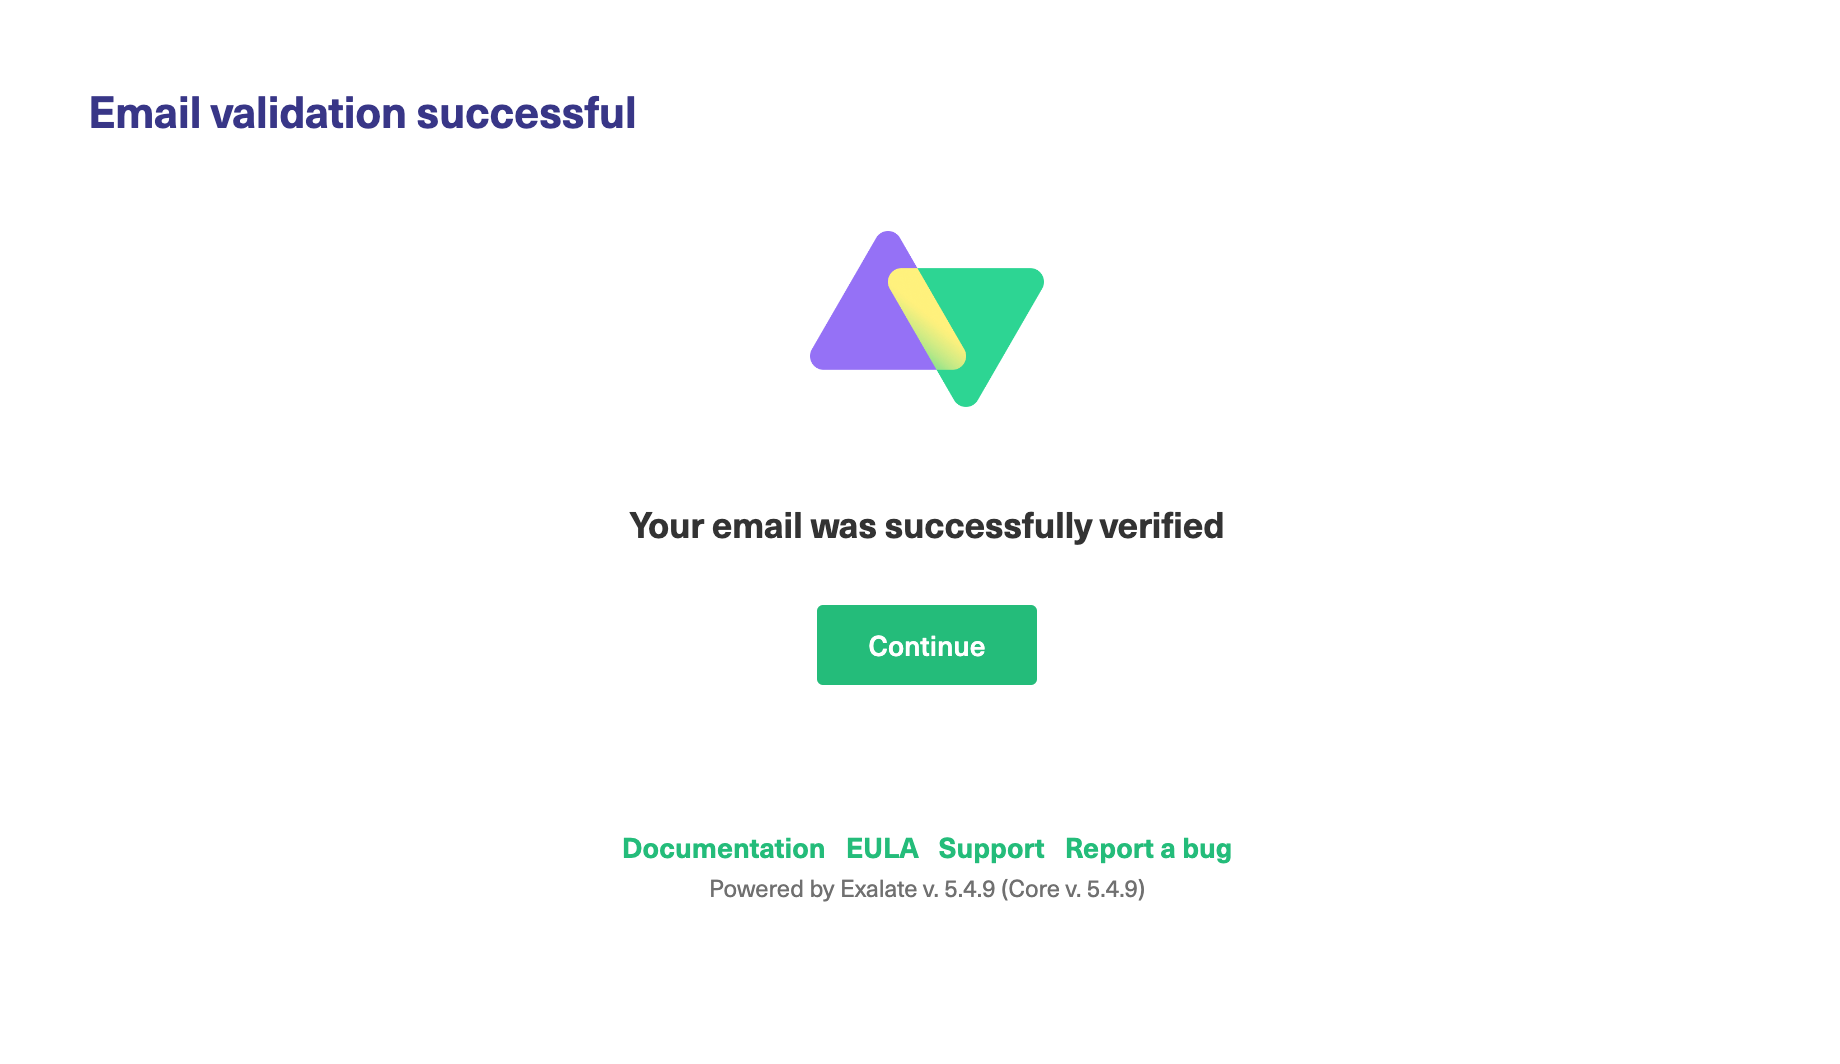
You will be redirected back to your Exalate console.
Click Continue.
Permissions for the proxy user:
Exalate requires a dedicated Zendesk admin as a proxy user.
The proxy user can restrict the roles or groups who can access Exalate. You can simply enable or disable the restrictions when installing the app or managing the app settings.
Now to integrate Zendesk with other ITSM tools, you need to:
Install Exalate on Zendesk.
Install Exalate on the other platform.
Connect the two instances.
Configure your sync rules and decide what you want to share.
Set up triggers to automate your sync.
Start syncing!
Bewerten Sie uns!
Teilen Sie Ihre Erfahrungen mit der Zendesk Community